As a natural redhead with porcelain skin, winter leaves me looking pale and washed out. I longed for a healthy, sun-kissed glow without the risks.
I confess: I've tried UV tanning beds before. Looking back, it was reckless—especially for my fair skin, which barely turns 'light beige' even after sessions. Thankfully, I've ditched them for good.

UV tanning is harmful, backed by health experts. After quitting, I explored safer options and tested store-bought self-tanners—only to be disappointed by their chemical smells, streaky application, and unnatural feel.
Committed to reducing chemical exposure, I eliminated commercial self-tanners. Embracing my natural pale skin felt empowering, but I still craved a subtle summer glow for my legs.
After extensive research, reading reviews, and personal testing, I perfected a simple, natural homemade self-tanner that delivers a golden hue safely.
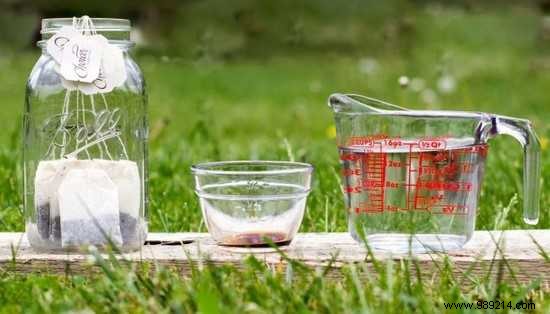
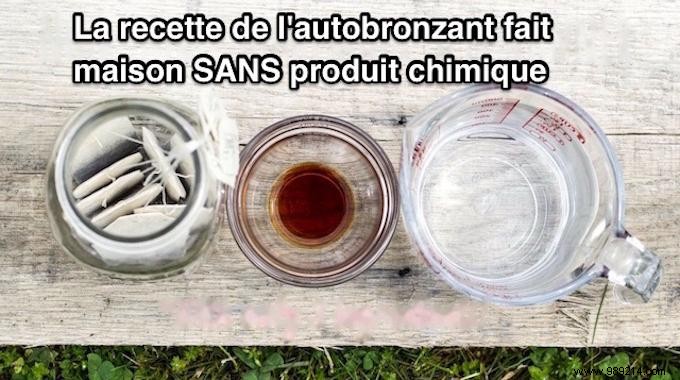
- 8 organic black tea bags
- 500ml water
- 1 tablespoon vanilla extract
- Spray bottle
1. Boil water and vanilla extract in a saucepan.
2. Stir well.
3. Add tea bags.
4. Steep for at least 8 minutes.
5. Cool completely (about 30 minutes).
Prep your skin first: Exfoliate with a washcloth on arms, legs, and face a few hours ahead. Moisturize for even results—try our homemade moisturizer recipe.
Pour cooled mixture into a spray bottle. Spray on skin, massage evenly, let dry, and repeat 4-5 times (takes under 10 minutes).
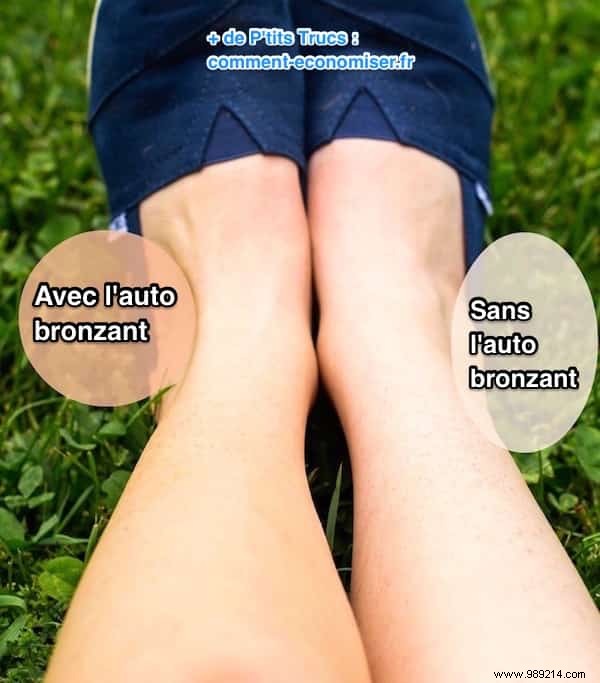
Absolutely. My pale legs now have a natural golden tint—pretty and vacation-like. WWII women used similar tea rinses to mimic stockings during shortages.
Best part: It smells divine, unlike chemical self-tanners. Honest caveats: Not fully waterproof (fades in showers) and lasts 1-2 weeks refrigerated in glass. Halve recipe if needed.
For me, it's ideal—no UV risks, no chemicals. Easy, effective, and season-ready.
This works for fair skin (1 bag per 60ml water, 8-min steep). For stronger color, use 1 bag per 30ml or steep longer. Skip extra vanilla to avoid stickiness.