
As a beauty enthusiast who's experimented extensively with natural cosmetics, I adore homemade makeup for its affordability and customization. Today, I'm sharing one of my go-to recipes: an ultra-simple homemade blush that rivals store-bought options and costs mere pennies—or even just 1 cent with pantry staples.
It's beginner-friendly and delivers a natural glow. Here's how:
 Contents
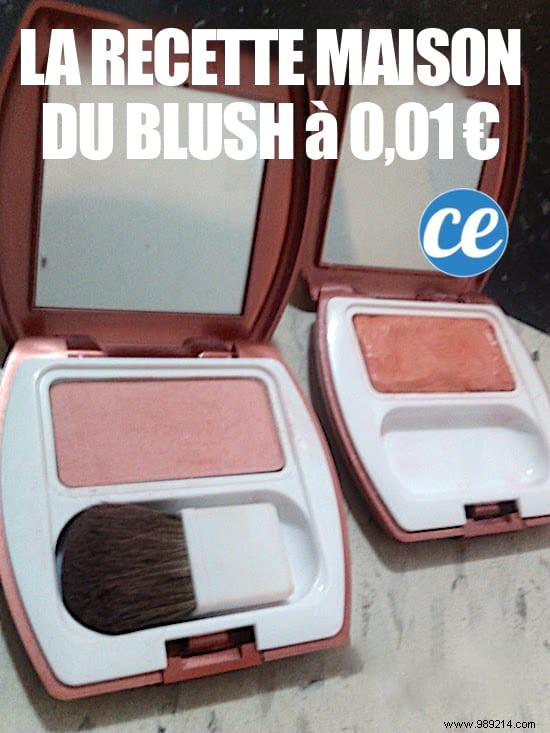
 On the left is my commercial blush; on the right, my homemade version. Applied, they match closely in color and finish.
Skip the pricey beauty counters—highlight your cheekbones with this easy, glowing formula.
1. In a bowl, combine 3 tablespoons of water with your chosen amount of food coloring:
- 1-2 drops for pale pink
- 3-4 drops for hot pink
- 5-6 drops for dark pink/red
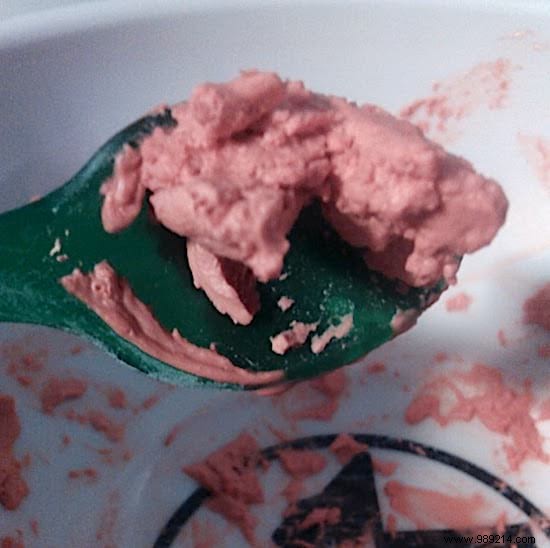
2. Gradually add baby powder, 1-2 teaspoons at a time, stirring until smooth.
3. Continue adding powder until it reaches a soft, crumbly clay consistency that breaks into pieces easily.
4. Press the mixture into an empty makeup container with your fingers until full.
Your homemade blush is ready! Quick, simple, and far cheaper than high-end brands like those at Sephora. Pennies per batch—who could ask for more?
Use immediately or let air-dry for optimal texture. Apply with a brush to cheekbones (smile to find the spot), blending lightly toward temples for a healthy flush.
This recipe offers endless variations. Add yellow for apricot tones or blue for purple undertones.
Key note: Wet mixtures appear much darker—don't worry; they lighten significantly when dry.
Here are my tested shades with exact recipes:
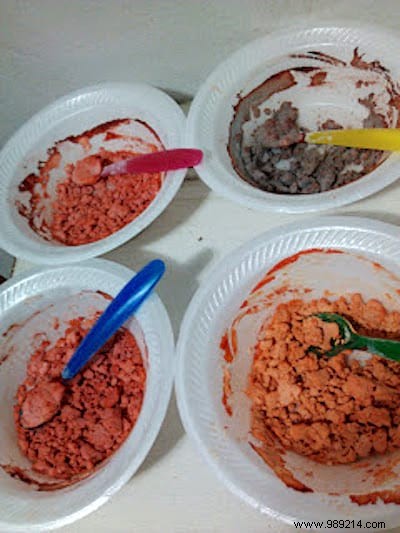
Wet (darker):
Blue spoon: 8 drops red, 6 ml water, baby powder to paste consistency.
Pink spoon: 6 drops red, 6 ml water, baby powder to paste.
Yellow spoon: 5 drops red, 1 drop blue, 6 ml water, baby powder to paste.
Green spoon: 3 drops red, 10 drops yellow, 6 ml water, baby powder to paste.
Swatch on hand (right to left: pink, green, blue, yellow):
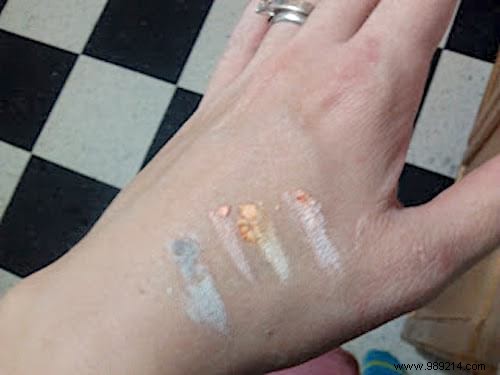
Pro tip: Patch-test on your hand hours before face use to check for reactions. Store in a clean, dry container.