Broken a nail? No panic needed. Skip the salon and fix it yourself with this quick, proven technique I've used for years to save countless manicures.
Using a small piece of tea bag as an invisible patch creates a strong, seamless repair. Here's how:

Contents
- What you need
- How to
- Result
What you need
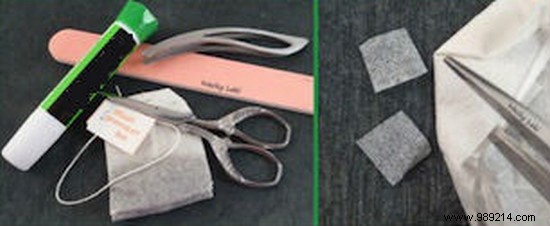
- A woven tea bag
- A pair of nail scissors
- A set of file and polisher
- Special nail glue
- A pair of tweezers
- A colorless base
How to
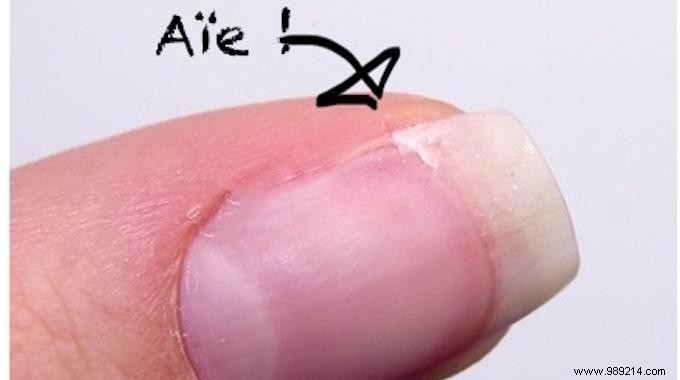
- Ouch! One of your fingernails is breaking.
- Pass the polisher so that the healthy nail and the broken part are at the same level.
- Apply some special nail glue on the break and all around.
- Cut a small piece of tea bag.
- Using tweezers, place the piece of tea bag on the glue.
- Add a layer of glue over the tea bag piece.
- Position the piece well over the edge of the split nail, but not all the way to the end of the nail.
- Let dry completely. Then polish to bring the piece into shape.
- File the hard edges first with a nail file. Then file the rest of the square with a soft file until smooth.
- The tea bag piece is now very smooth! If any file residue remains, rinse thoroughly with water.
- Apply more glue to the piece and let it dry.
- Go back over with a soft buff until everything is smooth.
- All file residue is now gone, and the piece is perfectly smooth!
- Apply your colorless base as usual.
- Then apply your varnish.
Result
And there you go! Forget the broken nail—you fixed it in just a few minutes. :-)
For best adhesion on the split nail, use a woven tea bag like these. You can also use Swiss silk, sterile compress, or any slightly stretchy fabric.