Want to create charming mini ribbon bows? They're perfect for adding a touch of elegance to decorations, gifts, and crafts.
Don't worry if it seems tricky at first—this simple fork method makes it accessible for anyone. Follow our detailed photo tutorial below, crafted from years of hands-on crafting experience.

1. Start with a blue ribbon and wrap it around each tine of the fork, as shown in the photo.
2. When you reach the end of the fork, loop around the last tine and head back the other way.
3. Continue wrapping until you achieve a neat checkerboard pattern around the fork.
4. Thread an orange ribbon through the center of the fork, between the two middle prongs, over the blue ribbon.
5. Wrap the orange ribbon around the entire blue ribbon bundle and secure with a tight knot. (Refer to the photo for the exact technique—practice makes perfect!)
6. Trim the excess ends neatly.
7. Tuck the orange ribbon behind the blue for a polished finish.
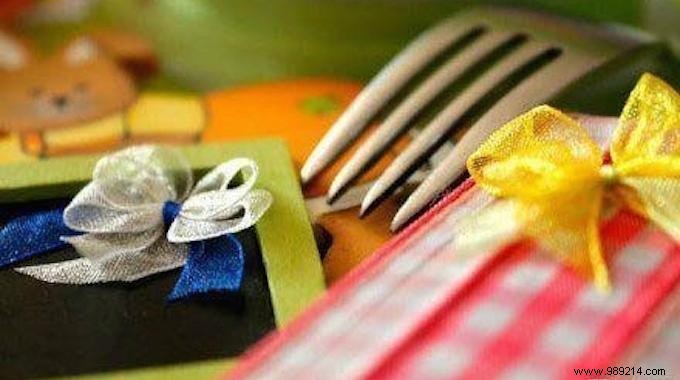
You now have beautiful mini ribbon bows ready to elevate your projects! Use them to adorn gift boxes, greeting cards, picture frames, or holiday decorations.
Ideal for Valentine's Day, Mother's Day gifts, wedding favors, or even as cute accents on clothing. This trusted DIY technique delivers professional-looking results every time.